How to Add Expenses
Expense Report
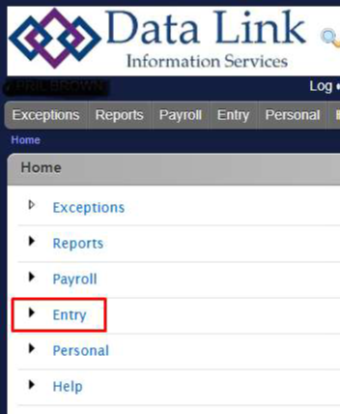
1. Select Entry
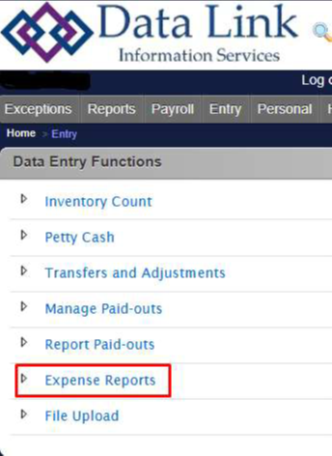
2. Select Expense Reports
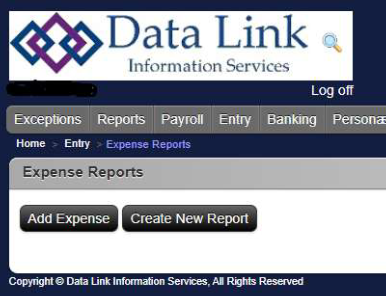
3. Select Add Expense
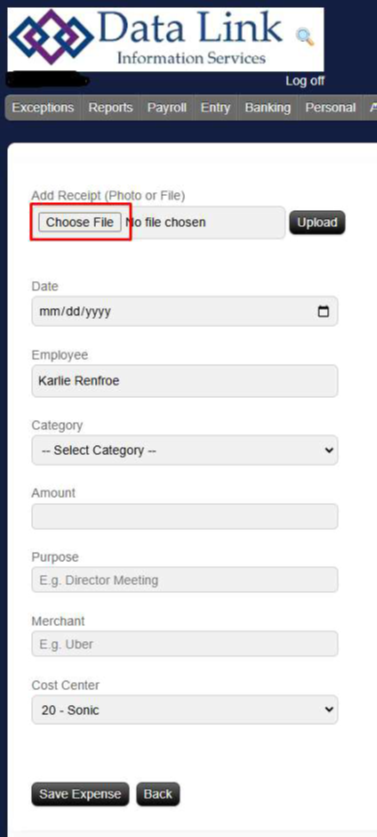
4. Select Choose File to upload an image
This can also be done on your cell phone:
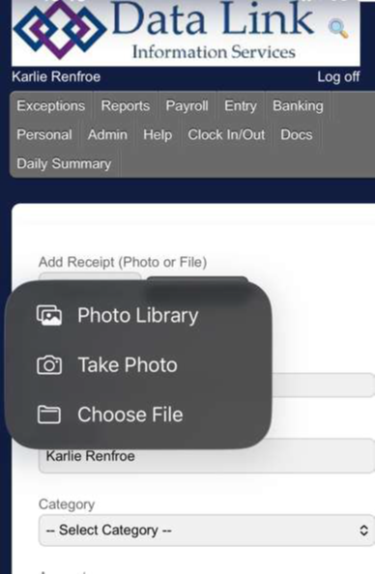
5. Once Image is selected select Upload
6. It will then show you if the file was uploaded successfully:
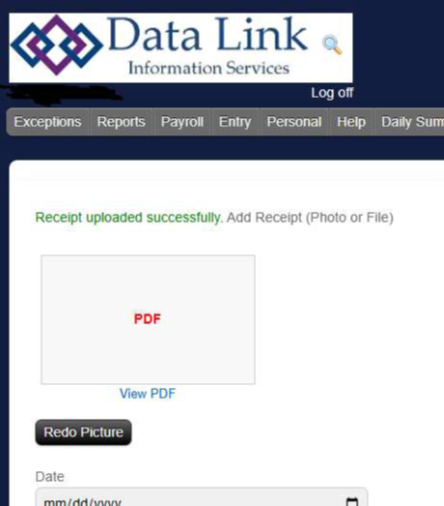
7. Next you will fill out the information about your expense. Expenses can split evenly between your Cost Center group or a single store. To split between all your stores,
select your Cost Center number. If it is just for one store you will select the store. If it is 1 receipt but needs to be split between 2 or more stores you will need to repeat steps 4
– 7 and only put the amount for that store.
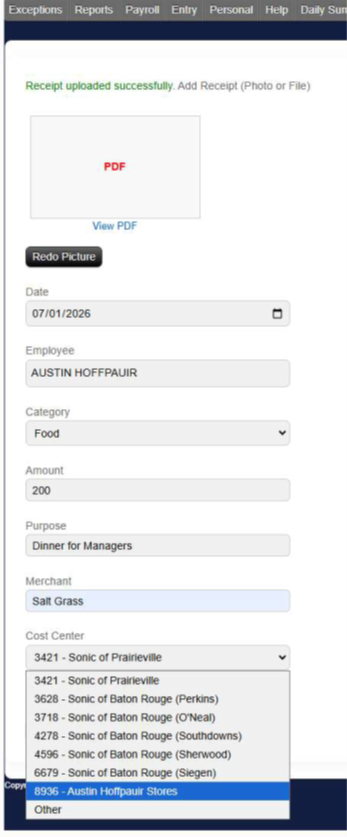
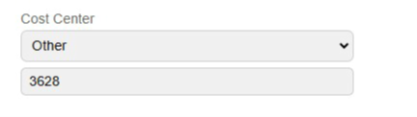
Note: If you do not see a store number select ‘other’ under the Cost Center and then enter the store number
8. Once the expense is complete, select Save Expense. It will then show as an unassigned expense.
9. Select Create an Expense Report to start a report
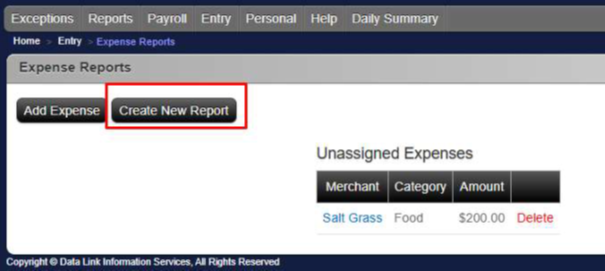
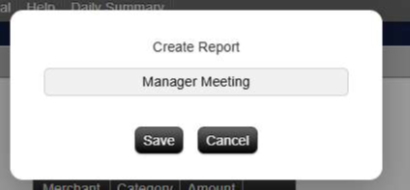
10. You will then need to title your expense report
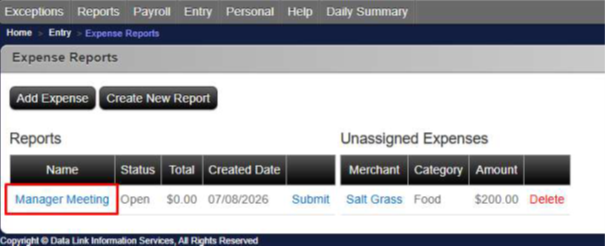
11. Select the name of your report to start adding expenses
12. The report will open to add an expense:
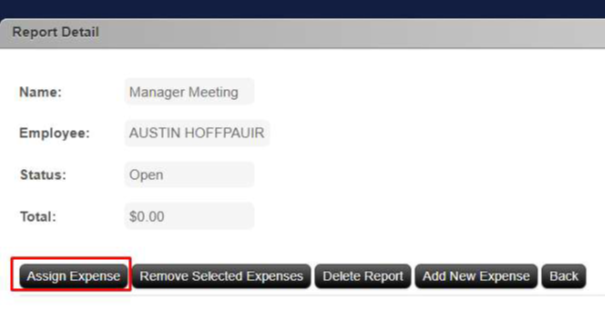
13. You will select all expenses you would like added to your report:
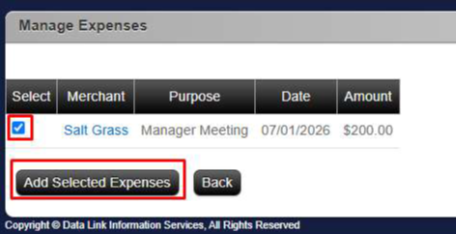
14. You will then see the details of your report with all expenses that are assigned:
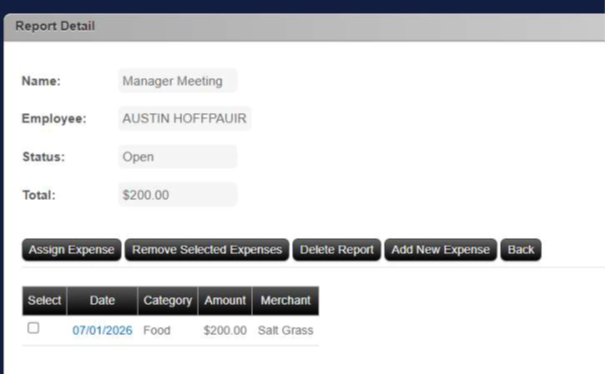
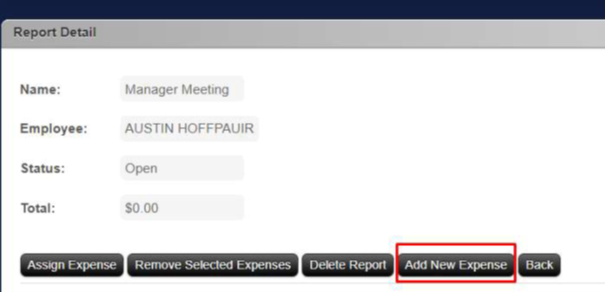
Note: you may add expenses directly in your report as well. You will follow steps 4-9.
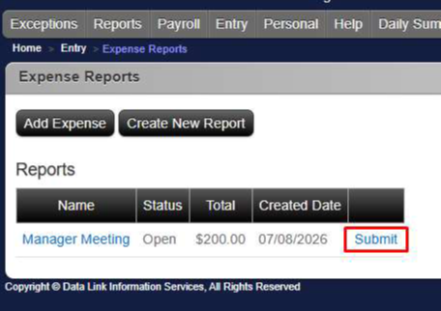
15. Once report is complete you will return to the main screen to Submit your report for approval.
16. You will receive an email showing you submitted a report, another once it has been approved, and a remittance email once payment has been processed.